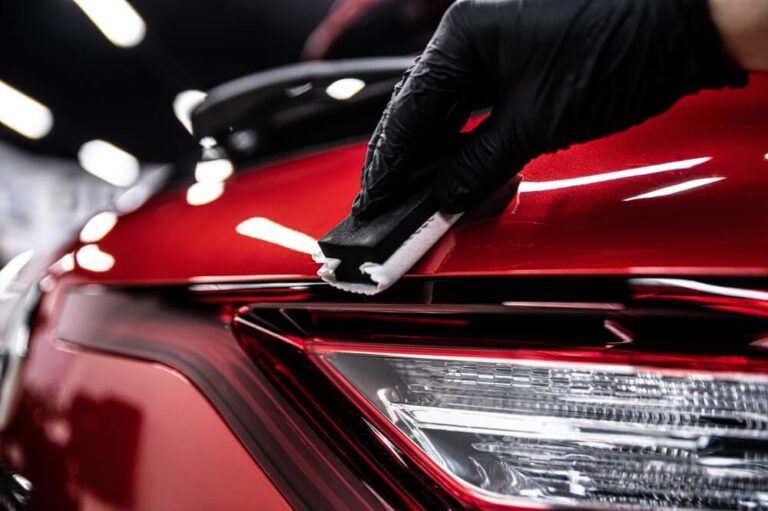
Vehicle wraps are an excellent way to customize and protect your car, whether it’s a luxury vehicle, sports car, or an everyday ride. They offer a unique opportunity to showcase personal style while safeguarding the car’s paint from scratches, UV rays, and minor abrasions. However, applying vehicle wraps is a complex process. Many car owners in New York City make mistakes during application, leading to a less-than-satisfactory finish or reduced longevity of the wrap.
Here are five common mistakes to avoid and tips to ensure your vehicle wraps turn out flawless and long-lasting.
Table of Contents
Key Takeaways
What Are Vehicle Wraps?
5 Common Mistakes to Avoid When Applying Vehicle Wraps on Your Car
1. Neglecting Proper Surface Preparation
2. Rushing Through the Application Process
3. Overlooking Temperature and Environment Guidelines
4. Using Inappropriate Tools and Techniques
5. Ignoring the Importance of Post-Heating
Post-Application Care for Vehicle Wraps
When to Consider a Professional Vehicle Wrap Installer
Frequently Asked Questions
Get a Professional Vehicle Wrap with Illmatic Wraps in New York City!
|
Key Takeaways ✔ Vehicle wraps offer a non-permanent way to transform the appearance of a car and protect its paint. ✔ Design selection should align with your style and consider colors, patterns, and finishes like matte or gloss. ✔ Quality materials are essential; high-grade vinyl resists fading, peeling, and cracking over time. ✔ Controlled environment ensures proper adhesion; avoid dust, extreme temperatures, and humidity during application. ✔ Surface preparation is crucial; clean the car thoroughly to prevent bubbles and poor adhesion. ✔ Rushing the application leads to wrinkles and bubbles—apply slowly and carefully for a smooth finish. ✔ Post-heating the wrap strengthens adhesion, particularly on curves and edges, reducing the risk of peeling. ✔ Professional installation may be necessary for complex designs or luxury vehicles to ensure a flawless result. |

What Are Vehicle Wraps?
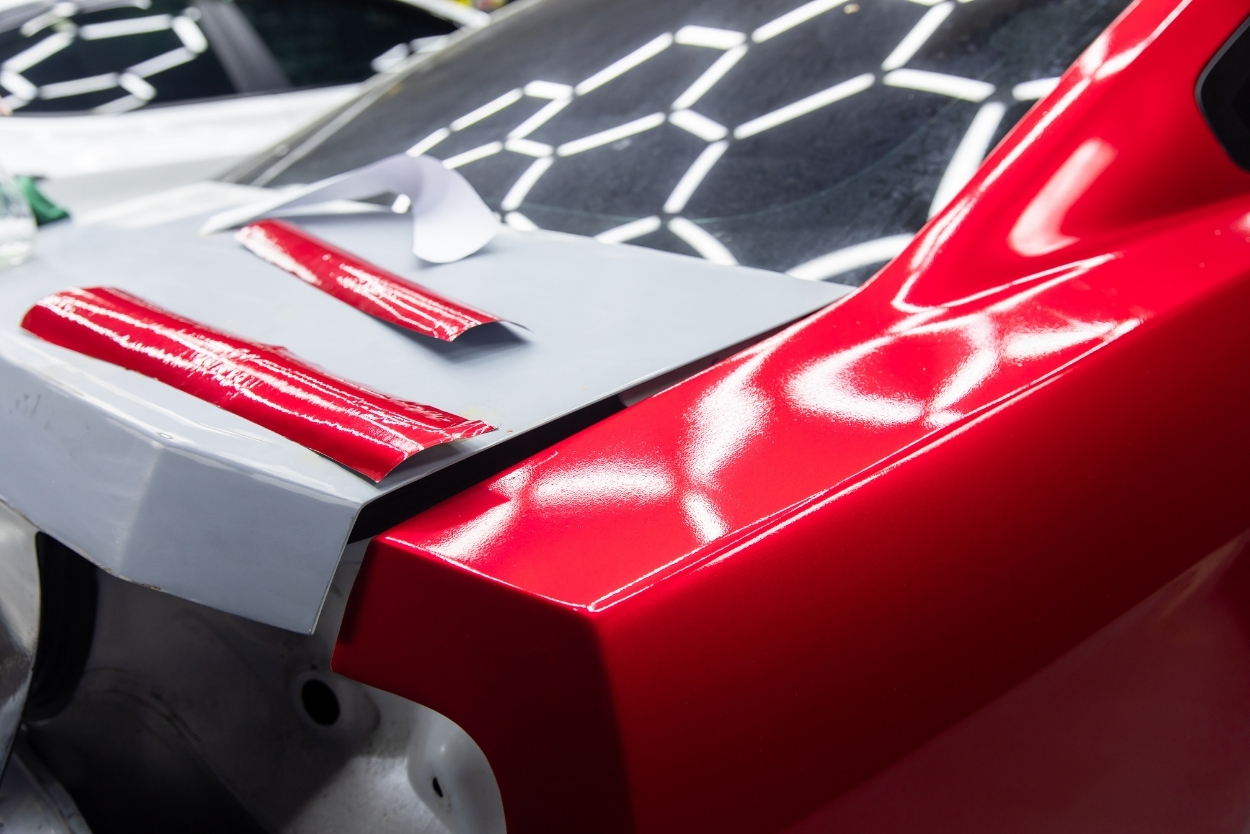
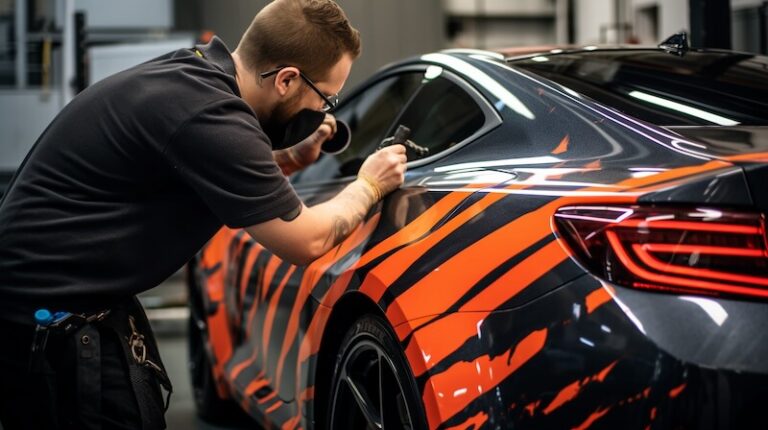
Vehicle wraps are large vinyl graphics or decals that cover a car’s surface. They serve multiple purposes, such as transforming the vehicle’s appearance, providing advertising space, and protecting the original paint.
Wraps are particularly popular for luxury and sports cars because they allow owners to experiment with different colors, patterns, and finishes without committing to a permanent paint job. In fact, the U.S. automotive wrap films market is projected to reach a value of USD 4.32 billion by 2028, demonstrating their growing popularity and demand across the country.
Preparation is key to a successful vehicle wrap. This includes:
- Choosing a Design: Select a design that complements your vehicle. Consider colors, patterns, and finishes (matte, gloss, satin) that align with your personal style or brand.
- Selecting Quality Materials: High-quality vinyl wraps last longer and offer better protection. Investing in top-tier materials ensures the wrap resists fading, peeling, and cracking over time.
- Creating a Controlled Workspace: Vehicle wraps require a dust-free, temperature-controlled environment for the best results. This ensures the wrap adheres properly and remains bubble-free.
- Considering Durability and UV Resistance: When selecting a design and material for vehicle wraps, it’s important to factor in durability and UV resistance. Vehicle wraps are constantly exposed to harsh weather conditions, including sunlight, rain, and extreme temperatures. Opting for vinyl wraps with UV protection ensures that the colors stay vibrant over time and the material doesn’t degrade quickly.
- Accounting for Installation Complexity: Different vehicle wrap designs and materials can vary in terms of installation complexity. Intricate patterns, multi-color designs, or wraps with special finishes like carbon fiber may require more skill and precision during application. If you’re working with a complex design, it might be worth considering professional installation.
5 Common Mistakes to Avoid When Applying Vehicle Wraps on Your Car
1. Neglecting Proper Surface Preparation
One of the most critical steps in applying vehicle wraps is surface preparation. Skipping this step is one of the most common mistakes that can lead to poor adhesion, bubbles, and a shorter lifespan of the wrap.
Why Cleanliness Is Key
The car’s surface must be completely clean before applying vehicle wraps. Dirt, dust, grease, and wax residues can prevent the wrap from sticking correctly, leading to bubbles and wrinkles. Over time, these imperfections can worsen, causing the wrap to peel off and look unsightly. A clean surface ensures the adhesive forms a strong bond with the car, resulting in a smoother and longer-lasting finish.
Steps for Proper Surface Prep
1) Initial Wash: Start by washing the car thoroughly with a car-specific soap to remove dirt, grime, and road debris. Pay extra attention to areas that are often overlooked, like wheel wells, bumpers, and the edges of the car.
2) Degreasing: After washing, use a degreasing agent to eliminate oils and wax. These substances can interfere with the vinyl’s adhesive properties, leading to issues down the road.
3) Alcohol-Based Cleaning: For a final cleaning step, use an alcohol-based cleaner to remove any remaining residue. This step is crucial for ensuring the surface is completely free of contaminants.
4) Drying: Allow the car to dry completely before applying the wrap. Any moisture trapped under the vinyl can cause bubbles and interfere with the adhesive.
Common Oversights
- Seams and Edges: Dirt often accumulates in seams, door handles, and trim. Cleaning these areas meticulously is crucial to prevent the wrap from lifting around the edges.
- Hidden Contaminants: Areas like the car’s roof, side mirrors, and bumpers can have hidden contaminants. Overlooking these spots can lead to an uneven wrap.
2. Rushing Through the Application Process
Vehicle wraps are large sheets of vinyl that need to be carefully maneuvered onto the car’s surface. Working too quickly can result in air bubbles becoming trapped under the vinyl, causing an uneven and bumpy appearance. Wrinkles and misalignment can also occur if the wrap is not applied slowly and methodically.
Step-by-Step Application
1) Measure and Cut Accurately: Before application, measure the wrap material and cut it to fit the car’s specific dimensions. Allow extra material for trimming and ensure all sections are covered.
2) Gradual Application: Start applying the wrap gradually, beginning at one `section of the car. Slowly peel back the backing paper and press the wrap onto the surface using a squeegee. Work in small sections to maintain control and prevent air bubbles.
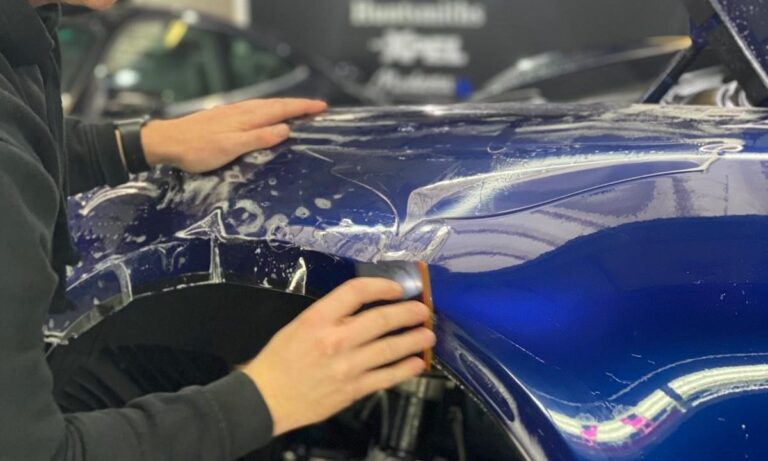
3) Smooth Out Air Bubbles: As you apply the wrap, use a squeegee to smooth out air bubbles. Work from the center outward in a gentle, sweeping motion to push air towards the edges.
4) Handle Curves and Edges with Care: For curved areas, use heat sparingly to make the vinyl more pliable. Gently stretch and mold the wrap to fit the contours, using the squeegee to secure it.
Consequences of Haste
Rushing the application can result in an unsightly finish with bubbles, creases, and misaligned edges. These imperfections not only affect the vehicle’s appearance but can also lead to the wrap peeling prematurely, necessitating costly repairs or reapplication.
3. Overlooking Temperature and Environment Guidelines
The environment plays a crucial role in the application of vehicle wraps. Ignoring temperature and environmental guidelines can result in poor adhesion and compromised durability of the wrap.
Ideal Conditions for Wrapping
- Temperature: The ideal temperature for applying vehicle wraps is between 60°F and 80°F. This range ensures the vinyl remains pliable and the adhesive bonds properly.
- Humidity: High humidity can cause the adhesive to become too sticky, making it difficult to reposition the wrap during application. A dry environment is preferable for better control.
- Clean Workspace: A dust-free, controlled environment is vital. Dust particles can become trapped under the vinyl, leading to imperfections.
Impact of Temperature on Adhesion
- Too Hot: High temperatures can make the vinyl overly flexible and stretchy. This can lead to the material becoming too thin in certain areas, increasing the risk of tearing. The adhesive may also become too aggressive, making it difficult to reposition the wrap.
- Too Cold: Low temperatures can cause the vinyl to become stiff and less pliable. This makes it challenging to conform the wrap to the car’s curves and can result in cracking or poor adhesion.
Tips for Controlled Environment
- Indoor Application: If possible, apply the vehicle wraps indoors to avoid exposure to wind, dust, and temperature fluctuations.
- Climate Control: Use heaters or air conditioners to maintain the optimal temperature range during application.
- Lighting: Ensure the workspace is well-lit to spot imperfections like bubbles and wrinkles during application.
4. Using Inappropriate Tools and Techniques
The quality of the application process is directly influenced by the tools and techniques used. Using inappropriate tools can result in a subpar finish, scratches, or damage to both the wrap and the vehicle.
Essential Tools for Vehicle Wraps
- Squeegees: Squeegees are essential for applying even pressure and smoothing out the vinyl. Opt for professional-grade squeegees made of soft materials to avoid scratching the wrap.
- Heat Gun: A heat gun is crucial for molding the vinyl around curves and edges. It makes the material more pliable and helps eliminate air bubbles.
- Precision Knives: Use sharp precision knives to trim excess vinyl cleanly without damaging the wrap or the car’s paint.
Common Tool Mistakes
- Using Household Items: Some DIY enthusiasts use household items like credit cards as squeegees. This can cause scratches and fail to apply even pressure, resulting in a poor-quality finish.
- Improper Cutting Tools: Using dull blades can tear the vinyl and create jagged edges, making the wrap look unprofessional.
- Incorrect Heat Application: Overheating the vinyl can cause it to warp, stretch too much, or burn, compromising the wrap’s integrity.
Best Practices for Tool Use
- Squeegee Techniques: Use the squeegee to apply even pressure, working from the center outward in overlapping strokes to avoid bubbles.
- Heat Gun Use: Apply heat sparingly and evenly. Focus on one area at a time, and avoid excessive heat that can damage the wrap.
- Precision Cutting: Use a steady hand and sharp blade to trim the edges precisely. Avoid cutting too close to the car’s paint to prevent accidental damage.
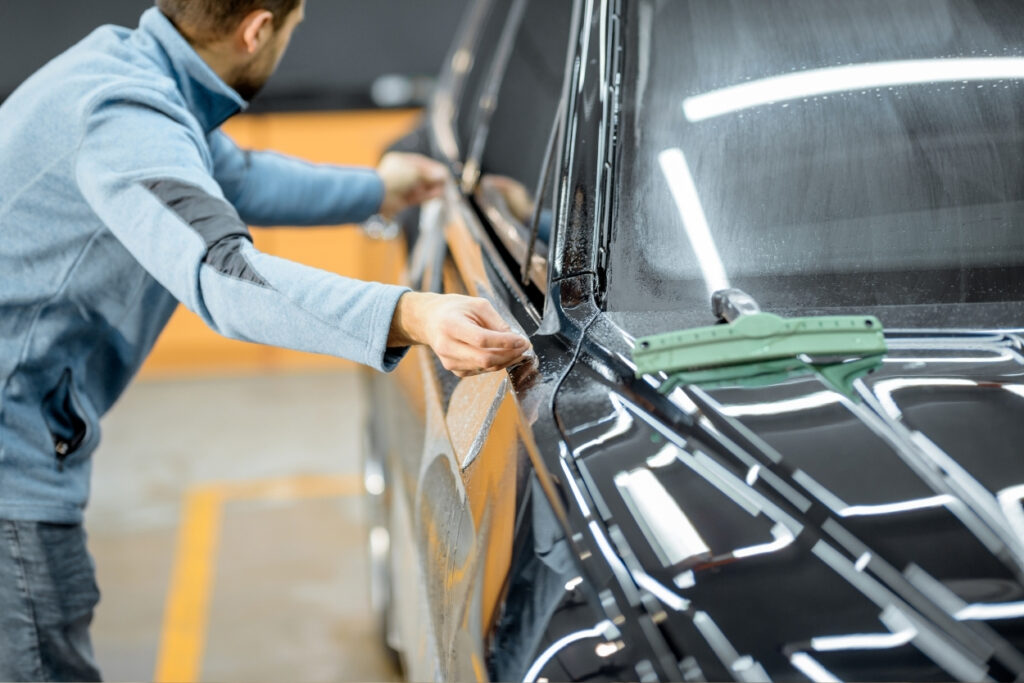
5. Ignoring the Importance of Post-Heating
Post-heating is a critical step in the vehicle wraps application process, particularly for curved or recessed areas. Ignoring this step can lead to poor adhesion and premature lifting of the wrap.
Why Post-Heating Matters
Post-heating involves heating the vinyl wrap after it has been applied to activate the adhesive and ensure a secure bond. This is especially important for areas where the vinyl has been stretched, such as around curves, edges, and recesses. The heat causes the vinyl to “set” into its final shape, reinforcing the adhesion and reducing the risk of lifting.
Correct Post-Heating Techniques
1) Use a Heat Gun: Set the heat gun to a moderate temperature and hold it a few inches away from the surface. Move it in a steady motion to distribute the heat evenly.
2) Reach the Right Temperature: Aim for a temperature of around 180°F. This is hot enough to activate the adhesive without damaging the vinyl.
3) Focus on Critical Areas: Pay special attention to curves, edges, and seams, where the vinyl is most likely to lift. Apply heat and use a squeegee to press the wrap firmly into place.
Risks of Skipping This Step
- Lifting and Peeling: Without post-heating, the vinyl may not adhere properly to complex surfaces, leading to lifting and peeling over time.
- Air Bubbles: Areas with air bubbles may worsen if not properly sealed with post-heating.
- Reduced Longevity: Skipping this step can significantly reduce the lifespan of the wrap, as it is more susceptible to damage from environmental factors.
Post-Application Care for Vehicle Wraps
After successfully applying vehicle wraps, proper care and maintenance are essential to preserve their appearance and durability.
Immediate Aftercare
- Avoid Washing: Refrain from washing the car for at least 48 hours after applying the wrap. This allows the adhesive to cure fully and ensures a strong bond.
- Avoid Extreme Conditions: During the curing period, keep the car away from extreme weather conditions like heavy rain, direct sunlight, or extreme cold.
Long-Term Maintenance Tips
- Gentle Washing: Hand wash the car using a soft cloth or sponge. Avoid high-pressure washers and abrasive brushes that can lift the edges or scratch the vinyl.
- Use Appropriate Cleaners: Opt for mild, non-abrasive cleaners specifically formulated for vehicle wraps. Avoid waxes and polishes, which can cause discoloration or damage.
- Avoid Scraping: Do not use scrapers or ice scrapers on wrapped surfaces, as they can scratch or tear the vinyl.
Spot-Check for Issues
Regularly inspect the wrap for signs of lifting, peeling, or bubbling, especially around the edges and seams. Address minor issues promptly to prevent them from worsening and to maintain the wrap’s appearance.

When to Consider a Professional Vehicle Wrap Installer
While applying vehicle wraps can be a rewarding DIY project, there are instances where hiring a professional installer in New York City is the best choice for optimal results.
Complex Designs and Installations
Intricate designs, full wraps, or wrapping luxury and sports cars often require professional expertise. Professional installers have the skills and experience to handle complex contours, intricate patterns, and large surface areas, ensuring a seamless finish.
Benefits of Professional Installation
- Expertise: Professionals have the knowledge and experience to achieve a flawless finish, minimizing the risk of bubbles, wrinkles, and misalignment.
- High-Quality Tools and Materials: Professional installers use top-grade tools and premium vinyl wraps, ensuring a durable and high-quality finish.
- Warranty and Guarantee: Many professional installers offer warranties on their work, providing peace of mind and protecting against installation errors.
How to Find a Reputable Installer
- Check Reviews: Look for reviews and testimonials from previous customers to gauge the quality of their work.
- View Their Portfolio: Ask to see examples of their previous installations to ensure they have experience with the type of wrap you want.
- Ensure Quality Products: Ensure they use high-quality vinyl wraps and equipment for the best results.
Cost vs. Value
While professional installation may come at a higher upfront cost, it often results in a superior finish and longer-lasting vehicle wraps. Investing in professional installation can save money in the long run by reducing the need for repairs or reapplication due to mistakes.
Frequently Asked Questions
How long do vehicle wraps typically last?
High-quality vehicle wraps generally last between 5 to 7 years. Their longevity depends on factors like the quality of the vinyl, proper maintenance, and exposure to harsh elements like sunlight and rain. With proper care, the wrap can maintain its appearance and protect the vehicle for many years.
Can vehicle wraps damage the car’s paint?
When correctly applied and removed, vehicle wraps do not damage the paint. In fact, they protect the original paint from UV rays, scratches, and minor abrasions. However, improper removal or wrapping over damaged paint can lead to issues.
How do you remove a vehicle wrap?
Vehicle wraps can be removed using heat, such as from a heat gun, to soften the adhesive. This allows the vinyl to be peeled off gently without harming the paint. It’s important to remove the wrap carefully to avoid leaving adhesive residue behind.
Can vehicle wraps be applied over rust?
It is not recommended to apply vehicle wraps over rust because the vinyl will not adhere properly to the surface. Wrapping over rust can lead to bubbling and peeling, as the rust will continue to spread underneath the wrap. For best results, the rust should be repaired before applying a wrap.
What is the cost of a vehicle wrap?
The cost of a vehicle wrap depends on the size of the vehicle, the type of vinyl, and the complexity of the design. Pricing typically ranges from $1,500 to $5,000 or more for luxury or custom designs. Additional costs may apply for professional installation or specialized finishes.

Get a Professional Vehicle Wrap with Illmatic Wraps in New York City!
Ready to transform your car with high-quality vehicle wraps? Contact Illmatic Wraps in New York City for expert design, installation, and top-tier materials that will make your vehicle stand out. Whether you’re looking for a custom wrap for your luxury car or a sleek new look for your sports car, Illmatic Wraps has the expertise to get the job done right.
Visit Illmatic Wraps today and give your car the style and protection it deserves, all right here in New York City!
